graph TD
    A[System Fails to Boot] --> B{Power On?}
    B -- Yes --> C{POST Beep Codes?}
    B -- No --> D[Check Power Supply]
    C -- Yes --> E[Interpret Codes]
    C -- No --> F[Check Connections]
    E --> G[Replace/Repair Component]
    F --> H[Minimal Boot Configuration]
    H --> I[Physical Inspection]
    I --> J[BIOS/CMOS Reset]
    J --> K[Further Diagnostics]
Troubleshooting Motherboards
A guide to POST codes and diagnostic tools
guide
motherboards
troubleshooting
diagnostics
1 Troubleshooting Motherboards
Motherboards are the backbone of any computer system, connecting all components and enabling communication between them. When a motherboard fails, it can manifest in many ways, making troubleshooting a critical skill for technicians. This guide is designed for students and new technicians, providing step-by-step instructions, explanations of common issues, and practical advice for diagnosing and repairing motherboard problems.
2 Common Symptoms of Motherboard Failure
Motherboard issues can present a variety of symptoms. Recognizing these early can save time and prevent further damage.
- No power or display: System does not turn on, or powers on but nothing appears on the screen.
- Random shutdowns or restarts: Computer turns off or reboots unexpectedly.
- Peripheral failures: USB ports, audio jacks, or other onboard devices stop working.
- Beep codes or POST errors: Audible signals or error messages during startup.
- Burnt smell or visible damage: Signs of electrical failure, such as burnt components or discoloration.
- Failure to recognize RAM or CPU: System does not detect installed memory or processor.
3 Step-by-Step Troubleshooting Process
- Initial Assessment
- Confirm the issue and gather information from the user.
- Check for obvious signs of damage or loose connections.
- Power Checks
- Verify the power supply is working and properly connected.
- Test with a known-good power supply if possible.
- POST (Power-On Self-Test) Analysis
- Listen for beep codes and observe POST card output.
- Refer to motherboard manual for code meanings.
- Component Isolation
- Remove all non-essential components (RAM, GPU, drives).
- Test with minimal configuration to isolate the problem.
- Physical Inspection
- Look for bent pins, damaged traces, swollen or leaking capacitors, and burnt areas.
- Inspect sockets and connectors for debris or corrosion.
- Firmware and BIOS Checks
- Attempt to reset CMOS using jumper or battery removal.
- Update BIOS if system is stable enough to boot.
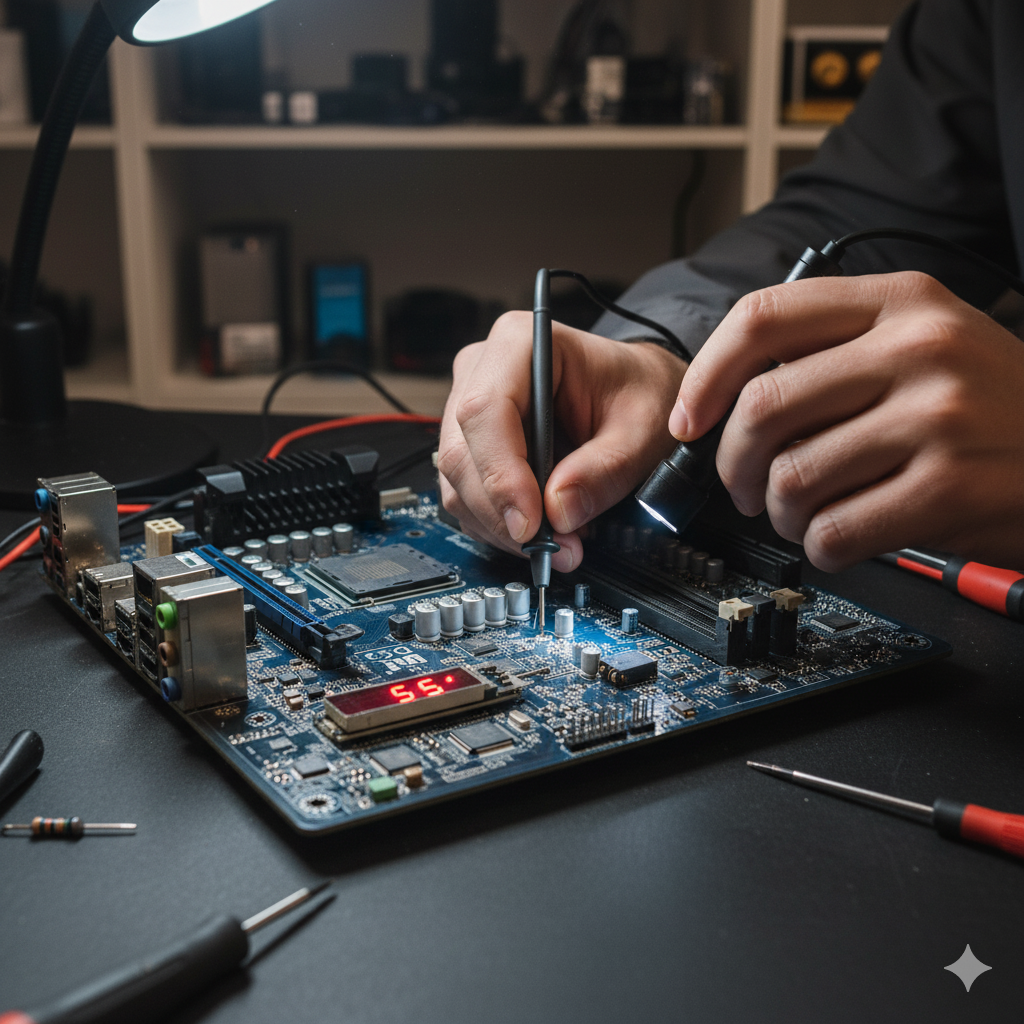
- Testing with Diagnostic Tools
- Use POST cards to read error codes.
- Multimeters can check voltage at key points.
- BIOS flashback tools may recover corrupted firmware.
- Final Steps
- Reassemble and retest after repairs.
- Document findings and actions taken.
4 Diagnostic Tools
- POST Cards: Plug into PCI/PCIe slots to display POST codes, helping pinpoint failures.
- Multimeters: Measure voltages and continuity to check for power delivery and shorts.
- BIOS Flashback Tools: Allow recovery of corrupted BIOS without CPU or RAM installed.
- Anti-static Wrist Straps: Prevent electrostatic discharge that can damage sensitive components.
- Thermal Cameras or IR Thermometers: Detect overheating components.
5 Safety Tips
- Disconnect Power: Always unplug the system before opening the case or handling components.
- Use Anti-static Precautions: Wear wrist straps and work on anti-static mats.
- Avoid Shorting Components: Use non-metallic tools when probing or adjusting parts.
- Handle Components Carefully: Avoid touching pins or traces directly.
6 Firmware and BIOS
- Updating BIOS: Download the correct firmware from the manufacturer’s website. Use the built-in update utility or a USB flash drive. Never interrupt the update process.
- Resetting CMOS: Use the motherboard jumper or remove the CMOS battery for several minutes. This can resolve boot issues caused by incorrect settings.
- BIOS Recovery: Some motherboards have a dedicated button or USB port for BIOS recovery.
7 Physical Inspection
- Bent Pins: Check CPU and RAM sockets for bent or missing pins.
- Damaged Traces: Look for broken or burnt traces on the PCB.
- Swollen Capacitors: Replace any capacitors that are bulging or leaking.
- Loose Connectors: Ensure all connectors are firmly seated.
8 POST Codes and Beep Codes
POST codes and beep codes are essential for diagnosing motherboard issues. Refer to the motherboard manual for specific meanings.
- Common Beep Codes:
- 1 beep: Successful POST
- 2 beeps: Memory error
- 3 beeps: Motherboard failure
- Continuous beeps: Power or hardware failure
- POST Card Codes: Each code corresponds to a specific test or error. Use the POST card manual or motherboard documentation for interpretation.
9 Case Studies
9.1 Case Study 1: No Power, No POST
A desktop system would not power on. After verifying the power supply and connections, a POST card showed no codes. Physical inspection revealed a burnt area near the CPU socket. Replacing the motherboard resolved the issue.
9.2 Case Study 2: Random Shutdowns
A laptop experienced random shutdowns. Multimeter testing showed unstable voltage from the power jack. Replacing the jack and reflowing solder joints fixed the problem.
9.3 Case Study 3: USB Ports Not Working
A technician found that none of the USB ports worked. Inspection revealed corrosion on the USB header. Cleaning and reseating the header restored functionality.
10 Preventive Maintenance
- Regular Cleaning: Dust buildup can cause overheating and shorts. Use compressed air to clean the motherboard.
- Check for Firmware Updates: Manufacturers release updates to fix bugs and improve compatibility.
- Monitor System Temperatures: Use software tools to ensure components are not overheating.
11 Troubleshooting Flowchart
12 Troubleshooting a Motherboard
Author: Professor Messer | View Channel
Looking at troubleshooting a motherboard. Nothing fancy, no schematics, just basic diagnosis.
13 Diagnosing a laptop motherboard
Author: LapFix | View Channel
Looking at troubleshooting a motherboard. Nothing fancy, no schematics, just basic diagnosis.